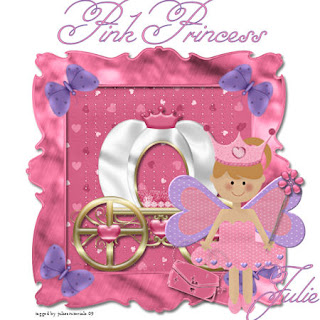
i wrote this tutorial on the 21st of august,2009 for a contest and for juliestutorials.
A knowledege of paintshop pro is needed
paintshop pro i used version 12
supplies needed
Princess tube is in the kit
scrapkit used called Little Miss Princess by bits n bobs HERE
you can buy the kit here HERE
all elements used are in the kit frame1,bling string 2,princess,crown 2,pin 1,carriage 2,bag 2,butterfly 2,
open a new image 600x600 white background
copy and paste frame as a new layer
pick a paper of your choice i'm using paper 1
using magic wand click inside your frame and go to selections
modify>expand by 4 add a new raster layer and copy and paste paper into selection select none
and
drag paper layer under your frame
copy and paste your bling string and resize to your liking
copy and paste the princess and resize to 85%
copy and paste your crown to your image and resize to 75% then resize again by
90%,i also rotated my crown i used the pick tool and i placed mine on the princesses head
add the pin and resize to 70% and place the pin where i have mine,go to image>free rotate 20% to the right
copy and paste your carraige as a new layer and see my tag for placement
copy and paste the bag as a new layer,then go to image>mirror and also resize bag by 40%
and put the bag into the other hand of the princess,add a drop shadow to the bag
copy and paste your butterfly and resize to 30%
next rotate your butterfly free rotate 20% to the left duplicate your butterfly 3 times
and see my tag for placement of all butterflys
add word art,your name and any watermark,merge visible and save tag as a jpeg
hope you enjoyed my tutorial and thank you for trying it :)


cute tut cant wait to try it :) Sherra
ReplyDelete